We used a process called Vacuum Forming to create the Justice Unlimited DRUID case. Vacuum forming is a process whereby you take a flat sheet of plastic, heat it in an oven, place it over a form, and then suck (vacuum) out all the air between the plastic and the form. The plastic gets sucked around the form and the result is a plastic shell the shape of the form you started with.
It turns out that vacuum forming is pretty easy. The hard part is creating the right form.
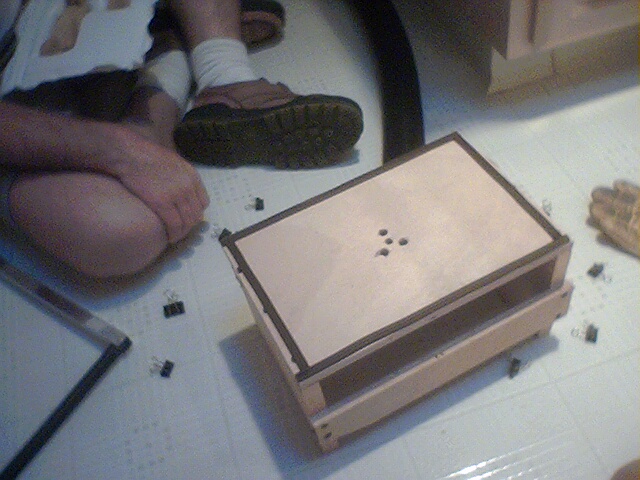
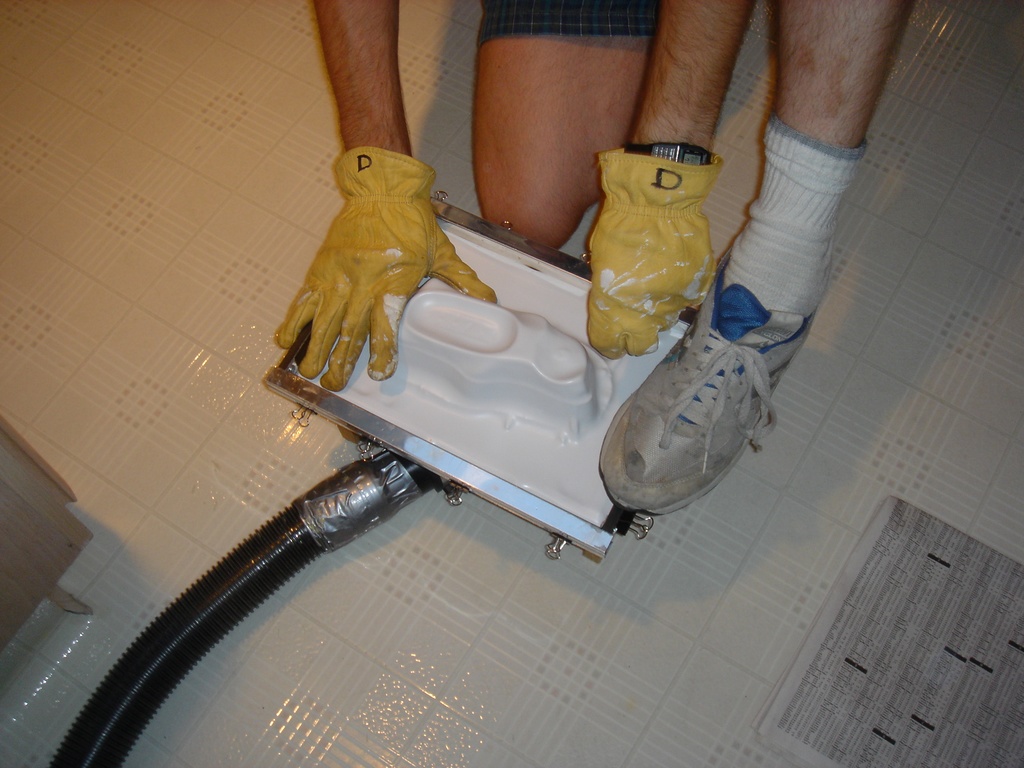
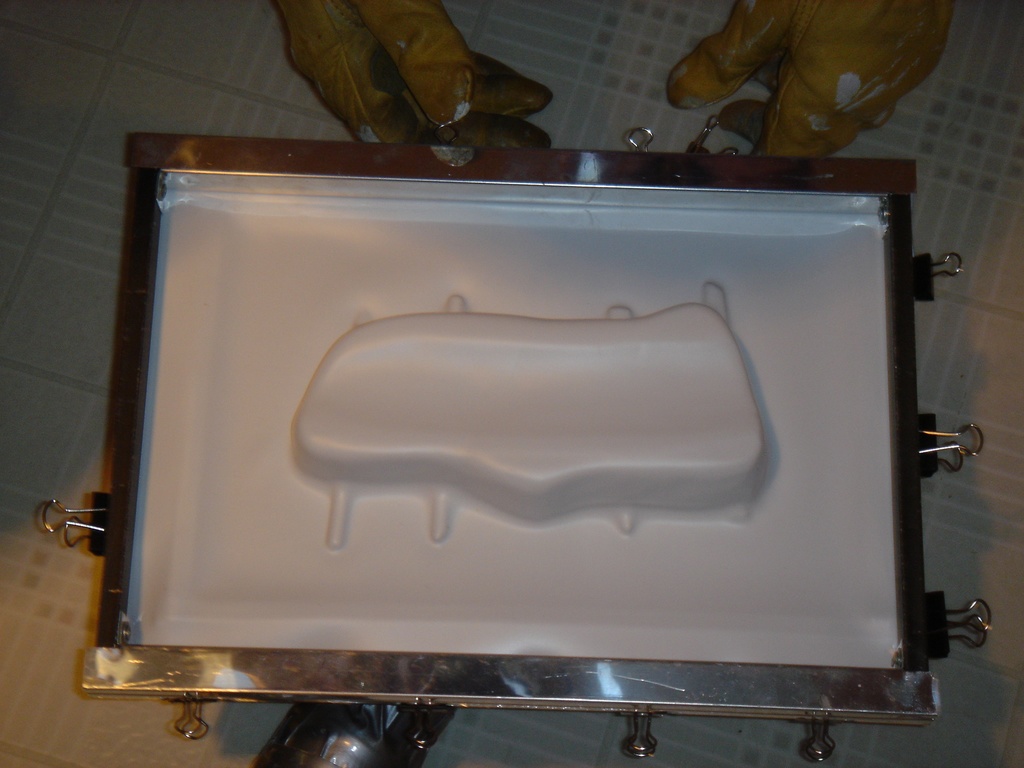
I built a small frame, 9" x 13", and a table, slightly smaller, to do the forming. The vacuum cleaner, a shop-vac, is attached under the table with a 1/4 circle rubber elbow so that the vacuum sucks through the holes in the table.
Getting the right shape for the form was the hardest part. Our first attempt (just an experiment - not meant to be the final case) was done by forming over an actual DRUID circuit prototype with its batteries.
That showed us what could be done, but we wanted a more interesting looking case.
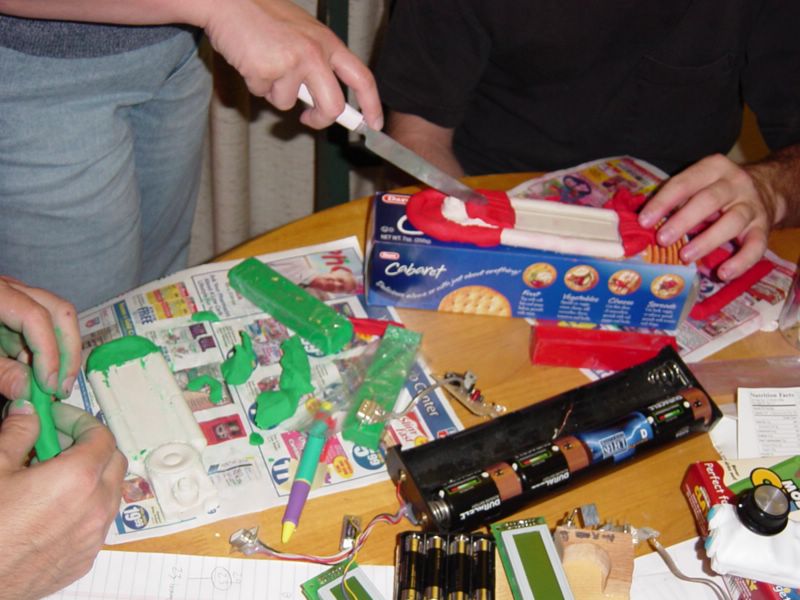
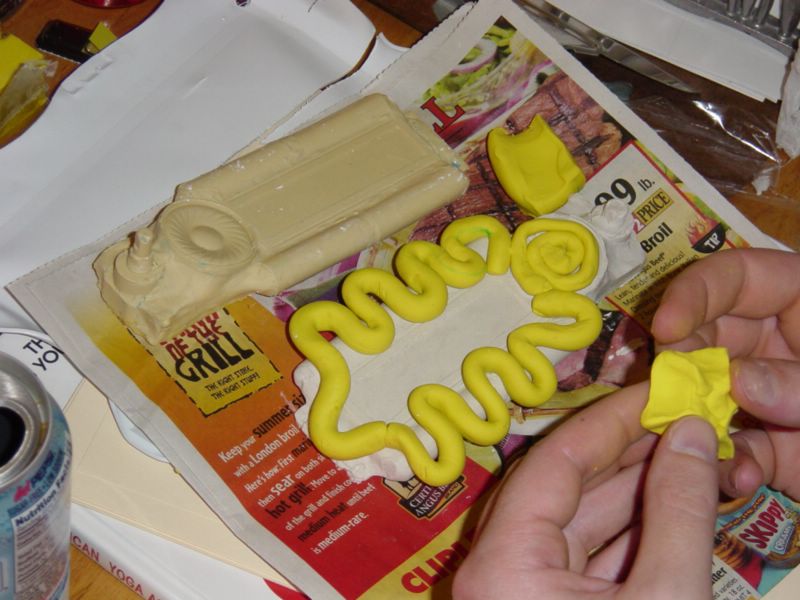
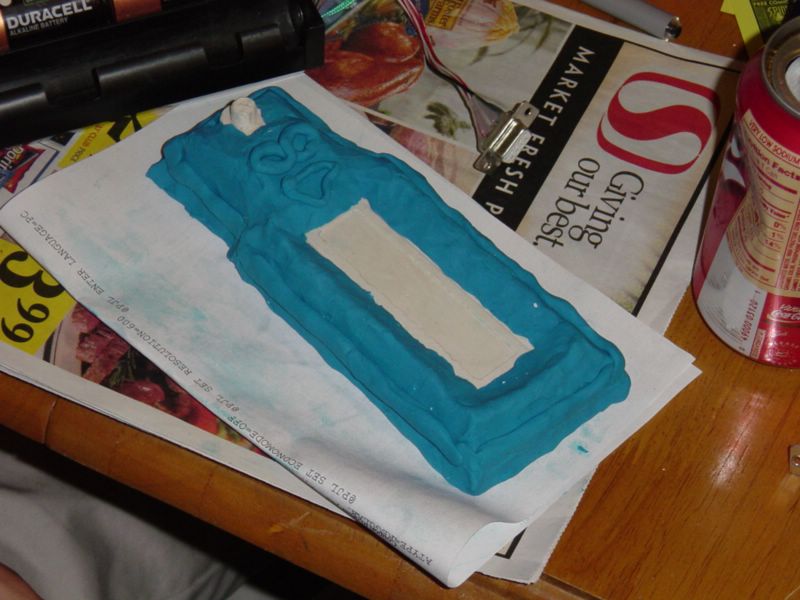
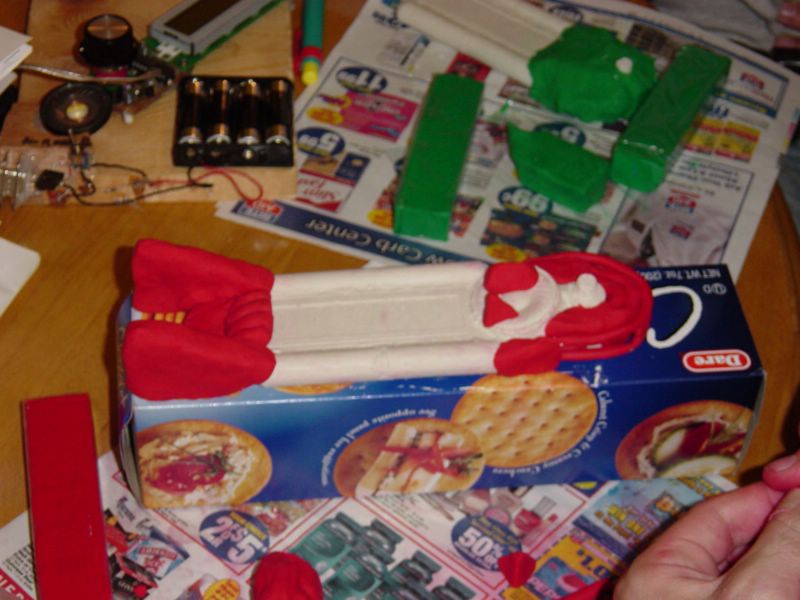
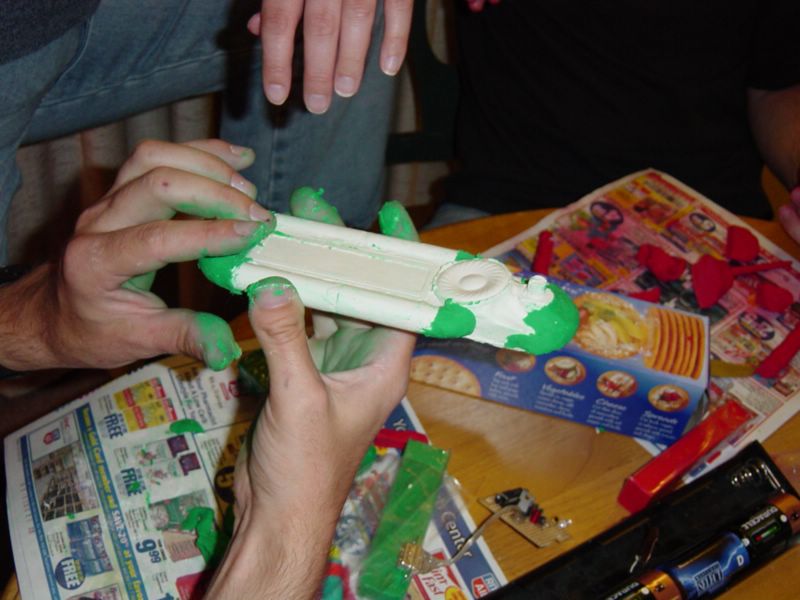
I started by making a mock-up of the circuit, display, batteries, etc - everything that would need to go inside the case. From this mock-up I made a rubber mold. With the rubber mold I made several plaster casts of the DRUID internals. Then we distributed the plaster casts to Justice Unlimited employees (Game Control) along with some modeling clay and let people build whatever they could think of. It was harder than I thought it would be to make something cool. I came up with nothing. Jeff had a cool Art Deco design. Then we handed the clay to Corby Anderson came up with a couple of awesome designs - including the one we finally used.
The clay was too soft to vacuum form over, so we needed to transfer the shape to a hard material. I made another rubber mold of the final clay model. I cast the final form out of Bondo by spreading Bondo into the rubber mold. Once the Bondo hardened I filled the rest of the form with Tap X-30 expanding foam.
It turns out that when vacuum forming you often get wrinkles, or "webbing," around the bottom of the form. You can solve this by making the form higher and then cutting off the extra plastic near the bottom (thus the webbing gets cut off and discarded). We added a 2x4 cut to the right shape to add height to the form. After a lot of sanding, re-bondoing, sanding iterations we finally had a form that matched the original Corby shaped clay model very closely.
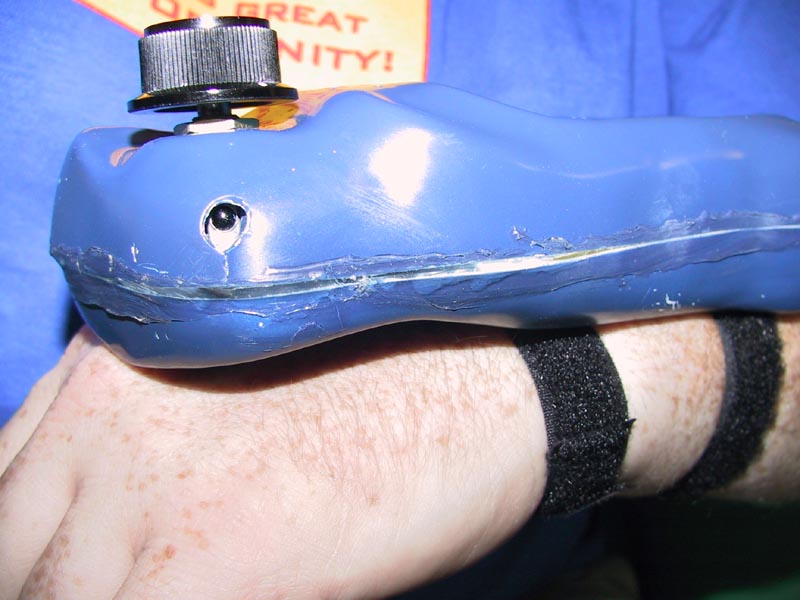
The bottom of the DRUID was vacuum-formed over a different form. I just carved and sanded it out of a 2x4 until it fit my arm. It is designed as a tripod when it is not on your arm, so that it will not tip when you click the knob even if it is on an uneven surface.
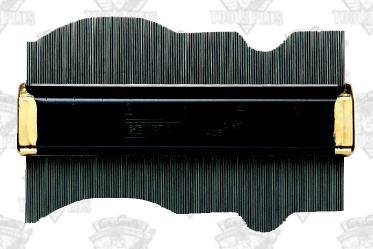
The cut-line is the line along which the plastic gets cut - on one side of the cut-line is the case, and on the other is the extra plastic that we throw away. It was important to get the cross section of the top and bottom molds the same at their respective cut-lines. This turned out to be a challenge. I finally managed it by using my contour guage to create a cardboard template for the shape of the cut-line from the top form, and then sanding the bottom form until its cut-line matched.
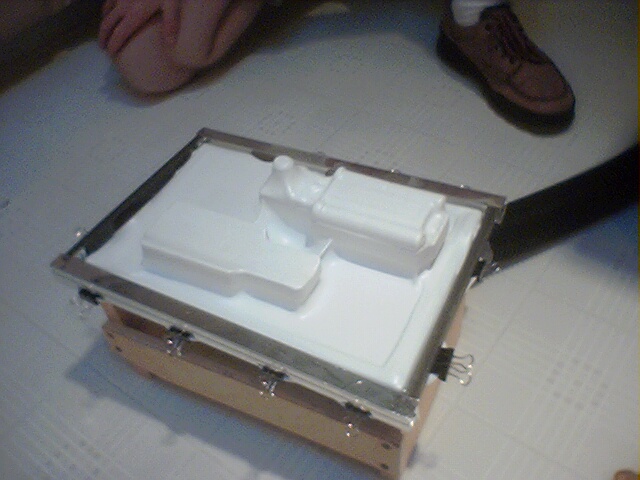
We used sheets of 1/16 inch thick high impact styrene from Tap Plastics on Castro street in Mountain View. We cut them to 9" x 13" rectangles, the size of our homemade metal frame.
The forming part is pretty instantaneous. Once the plastic is formed, it cools after a few seconds and the vacuum can be turned off and the frame removed. The plastic does not stick to the form, but any concavities in the form allow the plastic to grip the form and then it is difficult to remove.
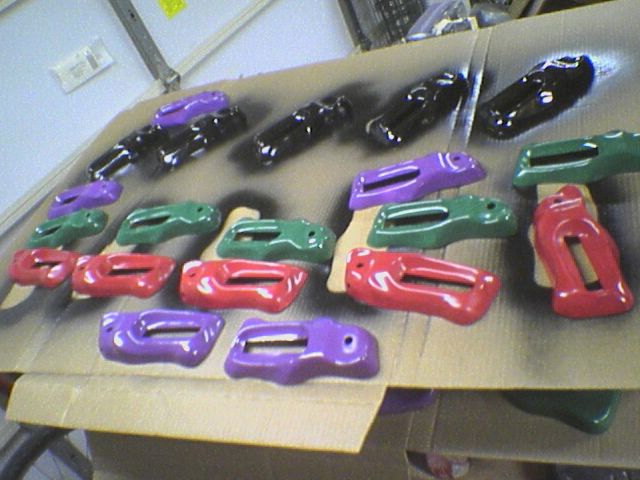
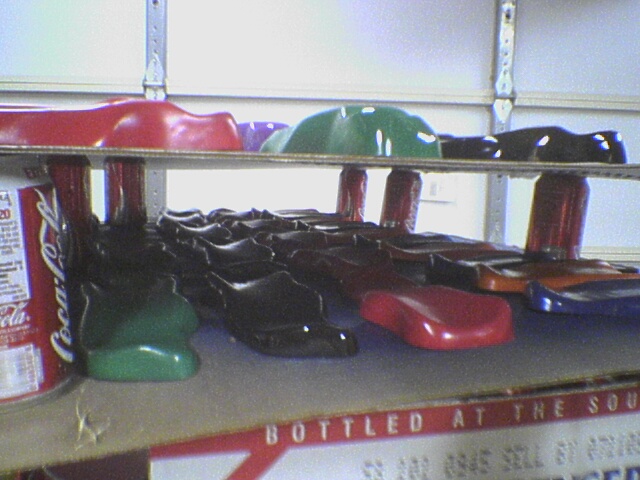
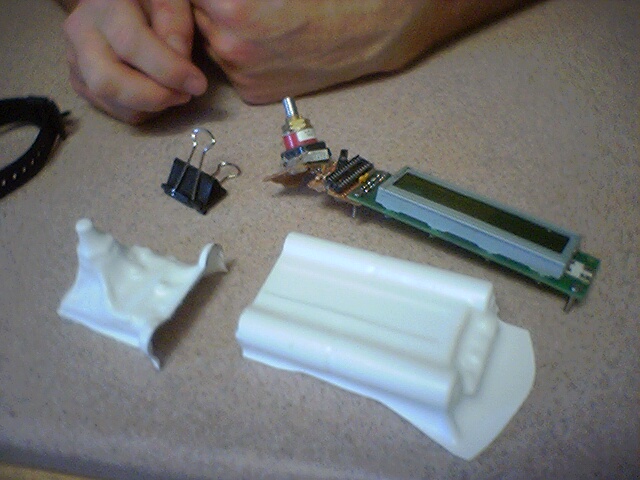
Once the plastic is removed from the form and cut along the cut line a McDonald's drinking straw is glued in as the light guide for the short range sensor. Then it is spray painted various colors.
|
|
|
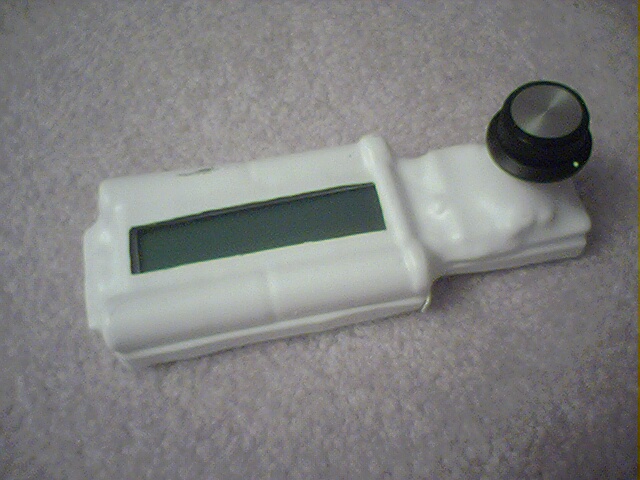
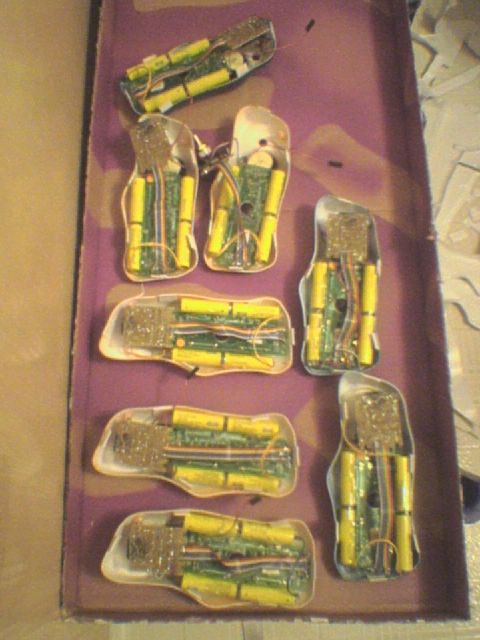
Finally the batteries are attached, the circuit boards are glued in...
...and the halves are glued together.
Click here to send feedback to Acorn! All questions, comments, suggestions, etc. are welcome!
Click here to see feedback that others have posted!
Click here to post your own comments on this website!
This file Copyright (C) 2004 by Nathan (Acorn) Pooley
Return to Justice Unlimited Homepage
Return to Gadgets of Justice Unlimited
Go to Acorn's personal webpage
Contact Acorn
See comments from others
Post your own comments